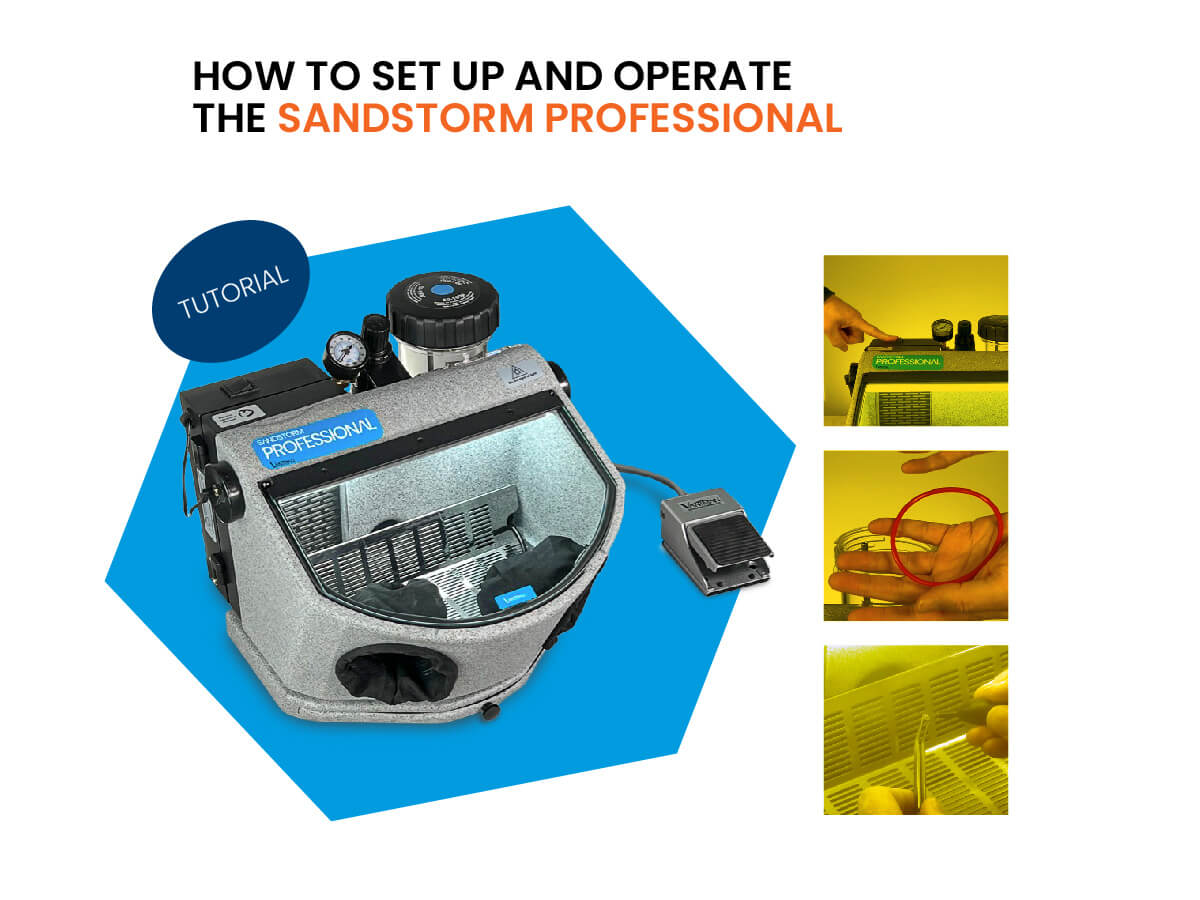
This tutorial walks you through proper setup and usage of the Vaniman SandStorm Professional, a microabrasive sandblaster with a built-in dust fan and filter for light use.
RELATED:
Air Supply Connections for Vaniman Sandblasters
The Differences Between Vaniman’s Dental Sandblaster Models
PRODUCTS:


TRANSCRIPT:
How to Set Up and Operate the Vaniman SandStorm Professional
In your box, you should have a foot pedal, a power cord, printed instructions, a Static Cling window protector, and your SandStorm Professional.
The first step is to plug the short light assembly cord into the LED light assembly.
Then, plug the power cord into the fan assembly.
Plug the cord into an outlet.
To turn on the light and fan, flip the switch on top of the fan assembly. To turn it off, flip it back the other way.
Next, remove the lid from the abrasive tank, and remove the sample bag filled with abrasive media.
Fill the tank with abrasive.
Do not fill past the FILL LINE.
PRO TIP: keep a finger over the manifold tube opening to avoid pouring media down there.
ALWAYS check to make sure the O-ring is in the lid before putting the lid back on the tank. If the O-ring isn’t present during operation the tank will leak and abrasive will get into the threads. If this happens, the tank could be damaged and would need to be replaced. So make sure your O-ring is in all the way.
Screw on the lid until you feel the O-ring engage — plus a little extra. Do not overtighten.
This is the blaster’s Air Pressure Regulator. The gauge tells you your PSI. Remember, your air compressor needs to be capable of 90 PSI with at least 1.5 CFM, though we recommend 2.5 CFM minimum.
Connect your air line here. The SandStorm Professional comes with the barb fitting for quarter-inch inner diameter tubing already installed, but we also provide the quarter-inch outer diameter quick disconnect and the eighth-inch to quarter-inch adapter for a quarter-inch NPT pipe in the packaging of your unit.
If you’ve got questions, please see our webpage on how to connect air supplies.
To adjust the air pressure, lift the black knob, turn it, then push it down.
The SandStorm Professional’s cabinet window provides easy access; to open it, simply pull up.
Apply the Static Cling window protector included in the packaging. We recommend the wet application method — spray some glass cleaner on the underside of the window, add the protector, and use a card or other hard, flat surface to squeegee the excess liquid out. Simply applying the protector while dry can produce a foggy effect; the wet application method ensures a clear view. Please note that it can take up to 24 hours to fully clear.
Set up is now complete. Time to start blasting!
Slip your hands into the cuffs.
Step on the foot pedal to begin the blasting sequence.
Abrasive will continuously flow while the pedal is pressed.
NOTE: Each application may have a different blasting technique.
When you remove your foot from the pedal there will be a “bleed-off”.
The “bleed-off” is a result of the abrasive tank depressurizing. To lessen this, keep your abrasive tank on the full side.
PRO TIP: Keep blasting during the “bleed-off”.
To avoid making a big mess, don’t pull the cuffs out with your hands; remove them inside the cabinet and slowly pull your hands out.
The SandStorm Professional has a removable tray to capture excess media and debris at the bottom; to empty this, pull the tray out from the front of your unit and dispose of it appropriately. Slide the tray back in before blasting again.
Thank you for watching and good luck blasting!
If you have any questions or concerns, please don’t hesitate to reach out to Vaniman!