Sandblasters | Dust Collectors: Van-I-Vac | Voyager | StoneVac Series | V6
Industrial Sandblasters
Problems with blasting
Media flow is intermittent or air only flows out of the tip?
- There is a blockage in the manifold tube.
- Manually clear the holes in the bottom of the tube and the tube itself.Make sure the abrasive being used matches the size of the tip and the jar
- Clumps of material in the tank suggests that the material is/has become moist and must be strained.
Results are taking too long?
- The air regulator is set too low.
- Increase the pressure on the regulator to increase flow.
- There is a leak in the system.
- Make sure the tank lid is secure with the o-ring in place.
- Check for holes in the air lines and their connections.
- Check tank for cracks and holes and replace if found.
- The blasting tip is worn out.
- Replace the blasting tip. (Note: cannot use new tips with old handpieces.)
Too much media is being released with low pressure?
- The blasting tip is worn out.
- Replace the blasting tip (Note: cannot use new tips with old handpieces).
- Make sure the abrasive being used matches the size of the tip and the jar.
- Air regulator is set too low.
- Increase blasting pressure to 50 PSI (3.5 Bar) or more. No higher than 100 PSI (7 Bar).
Material continues to flow after the foot pedal is released?
- Non Instant-off (I/O) units bleed as the tank is depressurized.
- Keep the tanks full with material to decrease the bleed time.
For I/O (Instant-Off, or “Master”) Units — All handpieces are blasting at once?
- Make sure to depressurize each tank when you are done using it by switching to “OFF/FILL” before switching to the next tank or leaving the station.
Problems with dust management
Material is leaking from the window?
- Not using a strong enough dust collector.
- Need to increase suction to keep down the dust cloud.
- The window gasket is too worn and needs to be replaced.
Material is leaking from the jar?
- Lid is not tightened down.
- The o-ring is not in place or is too worn.
Material is getting on the counter from the cuffs?
- Try to remove your hands while keeping the cuffs inside the unit.
Problems with a specific part?
Light?
- Light will not turn on.
- Ceramic Fluorescent Light:
- Twist the switch clockwise to turn on and off.
- Bulb is burnt out and needs to be replaced – P/N: 2078
- Switch is broken and needs to be replaced – P/N: 2075
- Upgrade to LED Lighting.
- LED Light:
- Twist the switch clockwise to turn on and off.
- LED board has burnt out and needs to be replaced.
- Call for assistance (760) 723-1498.
- Ceramic Fluorescent Light:
Tank(s)?
- Lid cannot be easily removed.
- Abrasive in the threads.
- Lightly tap the edges of the lid with a hammer to loosen.
- From repeated over tightening.
- Tighten slightly and then try to loosen.
- The o-ring is out of place and getting pinched.
- If unable to remove the lid from the tank then it must be replaced.
- Abrasive in the threads.
- Material is leaking from the jar.
- Lid is not tightening down.
- Make sure the tank lid is secured with the o-ring in place.
- There’s a hole just above the jar’s quick disconnect.
- Tube was not pushed in far enough into tank, allowing blasting material to wear a hole in the wall. Tank must be replaced.
Handpiece?
- Hole in the delivery tube.
- Tube is kinked causing excessive wear at one point.
- If possible, cut the tube to remove the damaged part and reuse.
- Order a replacement tube.
- Tube is kinked causing excessive wear at one point.
- Hole in the nozzle cap.
- The o-ring is missing or is too worn.
- Replacement o-ring – P/N: 97909 and nozzle cap – P/N: 2177
- The o-ring is missing or is too worn.
- Tip needs to be replaced.
Window?
- Window is scratched or broken from extended use or direct blasting.
- Use Static Cling Protectors
- Replace the window.
Cuffs?
- Need to be replaced.
- Problast 2
- Problast & Problast 3
Industrial Dust Collectors

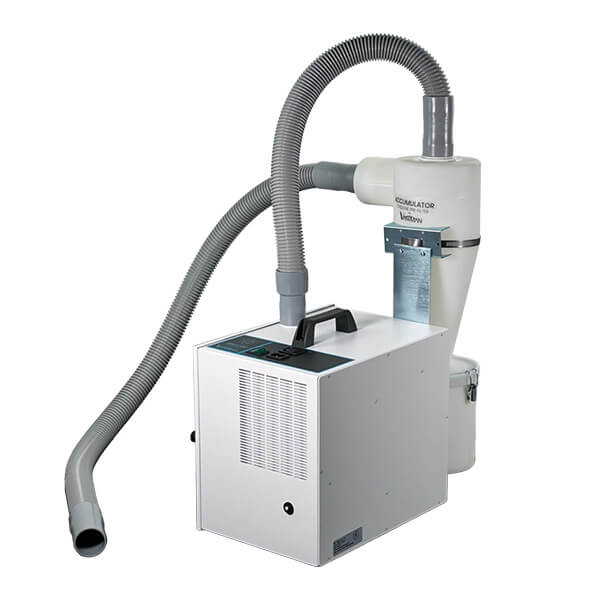
Van-I-Vac
Problems with performance
Motor does not turn on and the power light is ON?
- Motor brushes are worn
- Replace if necessary.
- Loose connection inside the unit.
- The ON/OFF switch does not work.
- Inspect the inside of the unit for dust which can cause the switch to short.
- Check if the switch is clicking smoothly.
- Use an ohmmeter to check the resistance of the switch. There should be resistance if it is still working.
- Replace the switch – P/N: 2904
- Motor is getting too hot and the thermal fuse has been tripped.
- Move the unit to a cooler area with better circulation.
- Check the filter bag to make sure the motor is not having to work too hard due to a full bag.
- Replace or reset the thermal fuse.
- Blue Dot Motor Thermal Fuse – P/N: 97013
- Red Dot Motors have a fuse built into them. To reset, turn off the unit and allow the motor to cool down for 15-20 minutes before turning it back on.
- Motor is dead.
- Replace with Red Dot Motor – P/N: 97038
Motor does not turn on and the power light is OFF?
- Check the power cord’s connections.
- Check the outlet for power or if its breaker has been tripped.
- Look to see if the breaker on the unit has tripped.
- Reset by pressing in the white button.
- The ON/OFF switch does not work.
- Inspect the inside of the unit for dust which can cause the switch to short.
- Check if the switch is clicking smoothly.
- Use an ohmmeter to check the resistance of the switch. There should be resistance if it is still working.
- Replace the switch – P/N: 2904
Low suction?
- Filter bag is full.
- Replace filter bag – P/N: VMC-A400-3 when it is 1/2 to 2/3 full
- Check hose connections and the hoses themselves for holes.
- Motor is not sitting flush on gasket.
- Reposition the motor.
- Make sure the covers are tightly secured.
Unit is running then shuts down?
- Motor is getting too hot and the thermal fuse has been tripped.
- Move the unit to a cooler area with better circulation.
- Check the filter bag to make sure the motor is not having to work too hard due to a full bag.
- Replace or reset the thermal fuse.
- Blue Dot Motor Thermal Fuse – P/N: 97013
- Red Dot Motors have a fuse built into them. To reset, turn off the unit and allow the motor to cool down for 15-20 minutes before turning it back on.
Problems with a specific part
Motor?
- Motor is not working.
- Brushes are too worn.
- Replace if necessary.
- Brushes are too worn.
- The Motor is dead.
Filter Bag?
- Filter needs to be replaced when it is 1/2 to 2/3 full.
Switches?
- The ON/OFF switch does not work.
- Inspect the inside of the unit for dust which can cause the switch to short.
- Check if the switch is clicking smoothly.
- Use an ohmmeter to check the resistance of the switch. There should be resistance if it is still working.
- Replace the switch – P/N: 2904

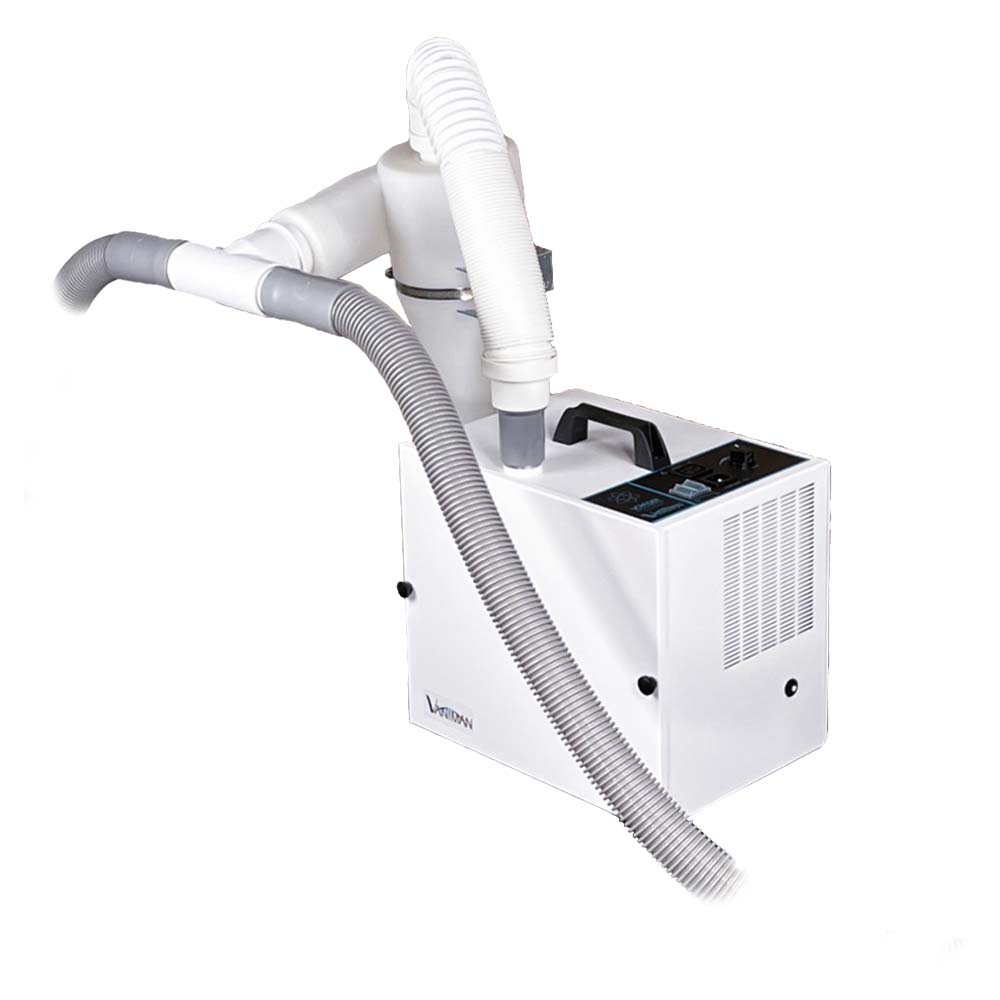
Voyager
Problems with performance?
Motor does not turn on and the power light is ON?
- Motor brushes are worn.
- Replace if necessary.
- Loose connection inside the unit.
- The ON/OFF switch does not work.
- Inspect the inside of the unit for dust which can cause the switch to short.
- Check if the switch is clicking smoothly.
- Use an ohmmeter to check the resistance of the switch. There should be resistance if it is still working.
- Replace the switch – P/N: 2904
- Motor is getting too hot and the thermal fuse has been tripped.
- Move the unit to a cooler area with better circulation.
- Check the filter bag to make sure the motor is not having to work too hard due to a full bag.
- Replace or reset the thermal fuse.
- Blue Dot Motor Thermal Fuse – P/N: 97013
- Red Dot Motors have a fuse built into them. To reset, turn off the unit and allow the motor to cool down for 15-20 minutes before turning it back on.
- Motor is dead.
- Replace with Red Dot Motor – P/N: 97041
Motor does not turn on and the power light is OFF?
- Check the power cord’s connections.
- Check the outlet for power or if its breaker has been tripped.
- Look to see if the breaker on the unit has tripped.
- Reset by pressing in the white button.
- The ON/OFF switch does not work.
- Inspect the inside of the unit for dust which can cause the switch to short.
- Check if the switch is clicking smoothly.
- Use an ohmmeter to check the resistance of the switch. There should be resistance if it is still working.
- Replace the switch – P/N: 2904
Low suction?
- Filter bag is full.
- Replace filter bag – P/N: VMC-A400-3 when it is 1/2 to 2/3 full.
- Check hose connections and the hoses themselves for holes.
- Motor is not sitting flush on gasket.
- Reposition the motor.
- Make sure the covers are tightly secured.
Unit is running then shuts down?
- Motor is getting too hot and the thermal fuse has been tripped.
- Move the unit to a cooler area with better circulation.
- Check the filter bag to make sure the motor is not having to work too hard due to a full bag.
- Replace or reset the thermal fuse.
- Blue Dot Motor Thermal Fuse – P/N: 97013
- Red Dot Motors have a fuse built into them. To reset, turn off the unit and allow the motor to cool down for 15-20 minutes before turning it back on.
Problems with a specific part?
Motor?
- Motor is not working.
- Brushes are too worn.
- Replace if necessary.
- Brushes are too worn.
- The Motor is dead.
Filter Bag?
- Filter needs to be replaced when it is 1/2 to 2/3 full.
Switches?
- The ON/OFF switch does not work.
- Inspect the inside of the unit for dust which can cause the switch to short.
- Check if the switch is clicking smoothly.
- Use an ohmmeter to check the resistance of the switch. There should be resistance if it is still working.
- Replace the switch – P/N: 2904
- The speed control rotary switch has failed.
- Inspect the inside of the unit for dust which can cause the switch to short.
- Check the switch is turning smoothly.
- Use an ohmmeter to check the resistance of the switch. There should be resistance if it is still working.
- Replace the Rotary Switch – P/N: 3019

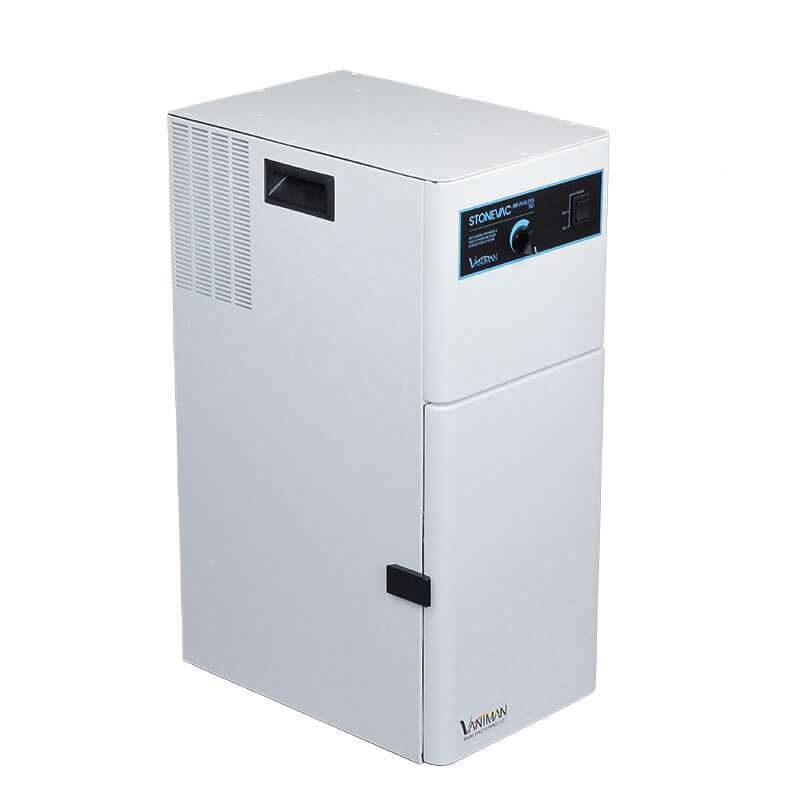
StoneVac Series
Problems with performance?
The unit will not turn on, including the clean function?
- Check the power cord’s connections.
- Check the outlet for power or if its breaker has been tripped.
- Look to see if the breaker on the unit has tripped.
- Reset by pressing in the white button.
- The ON/OFF switch does not work.
- Inspect the inside of the unit for dust which can cause the switch to short.
- Check if the switch is clicking smoothly.
- Use an ohmmeter to check the resistance of the switch. There should be resistance if it is still working.
- Replace the switch – P/N: 3282
The motor will not turn on, but the clean function still works?
- Motor brushes are worn.
- Motor is dead and needs replacing.
The unit makes strange noises while turned on?
- Motor’s fan blades are rubbing against housing or it has bad bearings. The motor must be replaced.
Low suction?
- Filter is clogged.
- Use clean function for no longer than 5 seconds, once daily.
- Replace filter – P/N: 97001 every 4-6 months depending on use.
- Check for holes and blockages in the hoses.
- Air is leaking in through the front door gasket.
Problems with a specific part?
Motor?
- Motor is not working.
- Brushes are too worn.
- Motor is dead.
Filter?
- The filter – P/N: 97001 should be replaced every 4-6 months depending on use.
Switch?
- The ON/OFF/CLEAN switch does not work.
- Inspect the inside of the unit for dust which can cause the switch to short.
- Check if the switch is clicking smoothly.
- Use an ohmmeter to check the resistance of the switch. There should be resistance if it is still working.
- Replace the switch – P/N: 3282
Problems with the Filter Clean Function?
The ON/OFF/CLEAN switch doesn’t work?
- Inspect the inside of the unit for dust which can cause the switch to short.
- Check if the switch is clicking smoothly.
- Use an ohmmeter to check the resistance of the switch. There should be resistance if it is still working.
- Replace the switch – P/N: 3282
Wire connections in the unit have come loose?
- Check connections
The shaker motor has died?
- Make sure to use the clean function for no longer than five seconds, once daily.
- Replace the shaker motor.

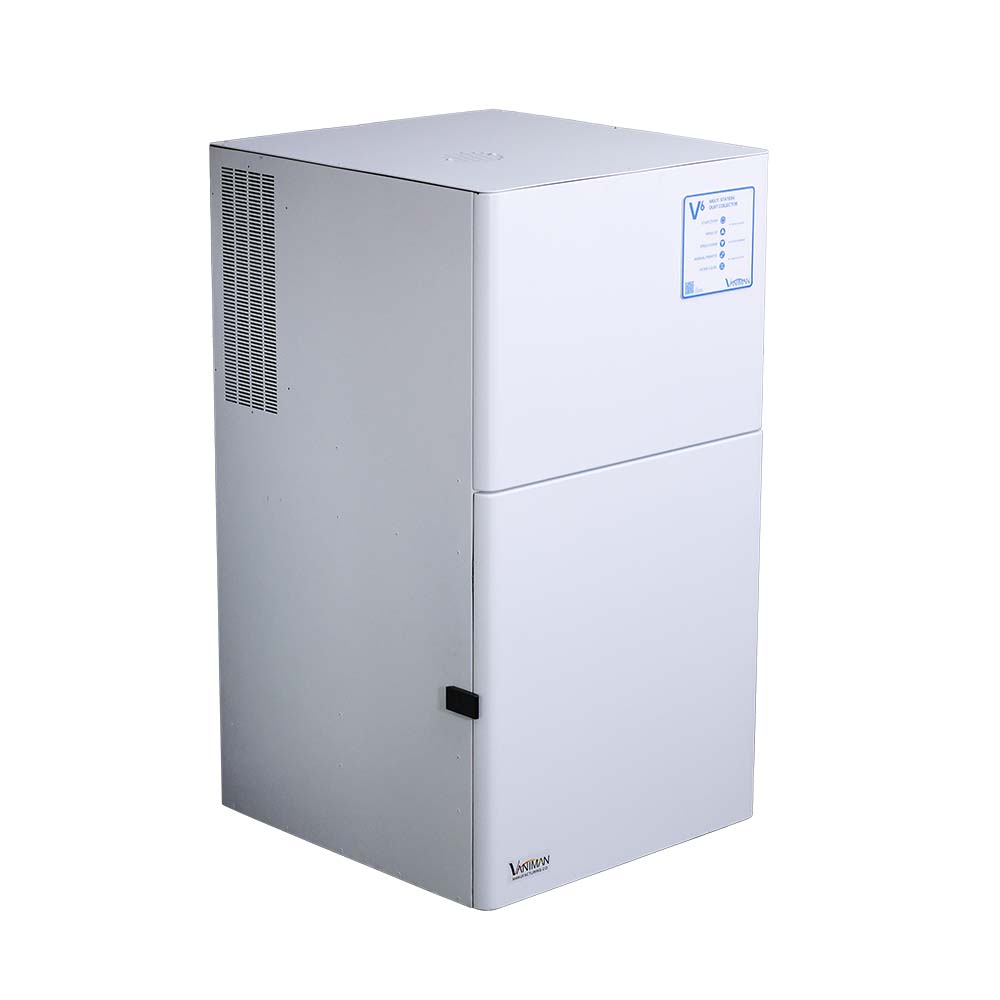
V6
Problems with performance?
The unit will not turn on, including the clean function?
- Check the power cord’s connections.
- Check the outlet for power or if its breaker has been tripped.
- Look to see if the breaker on the unit has tripped.
- Reset by pressing in the white button.
- The ON/OFF switch does not work.
- Inspect the inside of the unit for dust which can cause the switch to short.
- Check if the switch is clicking smoothly.
- Use an ohmmeter to check the resistance of the switch. There should be resistance if it is still working.
- Replace the switch – P/N: 1480A
- The ON/OFF/REMOTE switch does not work.
- Inspect the inside of the unit for dust which can cause the switch to short.
- Check if the switch is clicking smoothly.
- Use an ohmmeter to check the resistance of the switch. There should be resistance if it is still working.
- Replace the switch – P/N: 1497
- The speed control slide pot has failed.
- Inspect the inside of the unit for dust which can cause the switch to short.
- Check if the switch is clicking smoothly.
- Use an ohmmeter to check the resistance of the switch. There should be resistance if it is still working.
- Replace the slide switch – P/N: 2909
The motor will not turn on, but the clean function still works?
The unit makes strange noises while turned on?
- Motor’s fan blades are rubbing against housing or it has bad bearings. The motor must be replaced.
Low suction?
- Filter is clogged.
- Use clean function while the unit is off.
- Replace filter if necessary – P/N: 96017
- Check for holes and blockages in the hoses.
- Air is leaking in through the front door gasket
Problems with a specific part?
Motor?
Filter?
- The filter should be replaced every 4-6 months depending on use.
- Use clean function.
- Replace if necessary – P/N: 96017
Switch?
- The ON/OFF switch does not work.
- Inspect the inside of the unit for dust which can cause the switch to short.
- Check if the switch is clicking smoothly.
- Use an ohmmeter to check the resistance of the switch. There should be resistance if it is still working.
- Replace the switch – P/N: 1480A
- The ON/OFF/REMOTE switch does not work.
- Inspect the inside of the unit for dust which can cause the switch to short.
- Check if the switch is clicking smoothly.
- Use an ohmmeter to check the resistance of the switch. There should be resistance if it is still working.
- Replace the switch – P/N: 1497
- The speed control slider has failed.
- Inspect the inside of the unit for dust which can cause the switch to short.
- Check if the switch is clicking smoothly.
- Use an ohmmeter to check the resistance of the switch. There should be resistance if it is still working.
- Replace the slide switch – P/N: 2909
Problems with the Filter Clean Function?
The air pulse switch has failed?
- Inspect the inside of the unit for dust which can cause the switch to short.
- Check if the switch is clicking smoothly.
- Use an ohmmeter to check the resistance of the switch. There should be resistance if it is still working.
- Replace the switch – P/N: 3229
Wire connections in the unit have come loose?
- Check connections.
The air pulse assembly has failed?
- Do not supply more than 60 psi to the unit as the excessive pressure will cause it to fail.
- Replace the air pulse assembly, please call for assistance.
Need support with trouble shooting?
