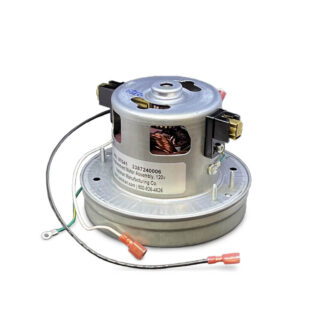
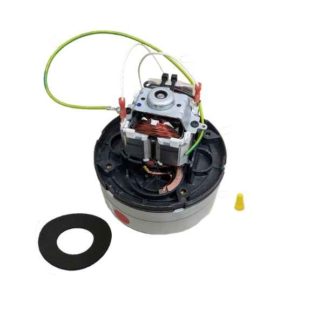
***The RED DOT MOTOR 97037 is replacing the “Blue Dot Technology” Motors 97006 & 97007***
***The RED DOT MOTOR 97038 is replacing the “Blue Dot Technology” Motor 97005***
For newer units, red dot motor 97037 is being replaced with motor 97041.
Diagnosing a bad motor
1. Motor sounds noisy.
2. Motor stops running or runs intermittently and brushes are still good.
Installation Instructions
NOTE: This replacement motor is a ultra long lasting, high performance “RED DOT” motor. This motor contains no replaceable parts or brushes.
- Unplug the power cord from the vacuum unit.
- Turn the vacuum unit onto its face so that it rests on the cover plate knobs or on its top for Evolution Series.
- Using a #2 Phillips screwdriver, remove the (12) screws from the back cover plate or (5) screws from the bottom cover (for Evolution Series). Gentle prying may be required to separate it from the gasket.
- Locate the motor in the lower right compartment. With a large blade screwdriver (or 5/16” nut driver if you have one) loosen the band clamp around the motor.
- Remove the motor by sliding the band clamp all the way off, lifting the motor and pulling it toward you. Place the motor on the table. Replace the foam rubber gasket under the motor with the new one provided.
- Disconnect the two black motor wires by unscrewing the orange wire nuts. Disconnect the green ground wire from the motor by loosening the green screw on top of the motor. Cut off the ground-screw connector and strip the wire back 3/8” in.
- Reconnect the new motor wires by using the orange wire nuts. Connect the ground wire with the orange wire nut to the green wire on the replacement motor.
- Replace the motor into the vacuum unit sliding it down inside the (3) motor brackets and band clamp.
- Press downward slightly on the top of the motor with one hand to cause good motor contact with the foam motor gasket on the case. While holding the downward pressure, tighten the band clamp with the other hand.
- Check the motor location to insure that it is suspended above the case and does not make metal to metal contact at any point. Tuck the wires back inside the case.
- Keeping your hands out of the unit! Plug in the power cord and test the unit.
- Replace the back cover and gently tighten the screws.
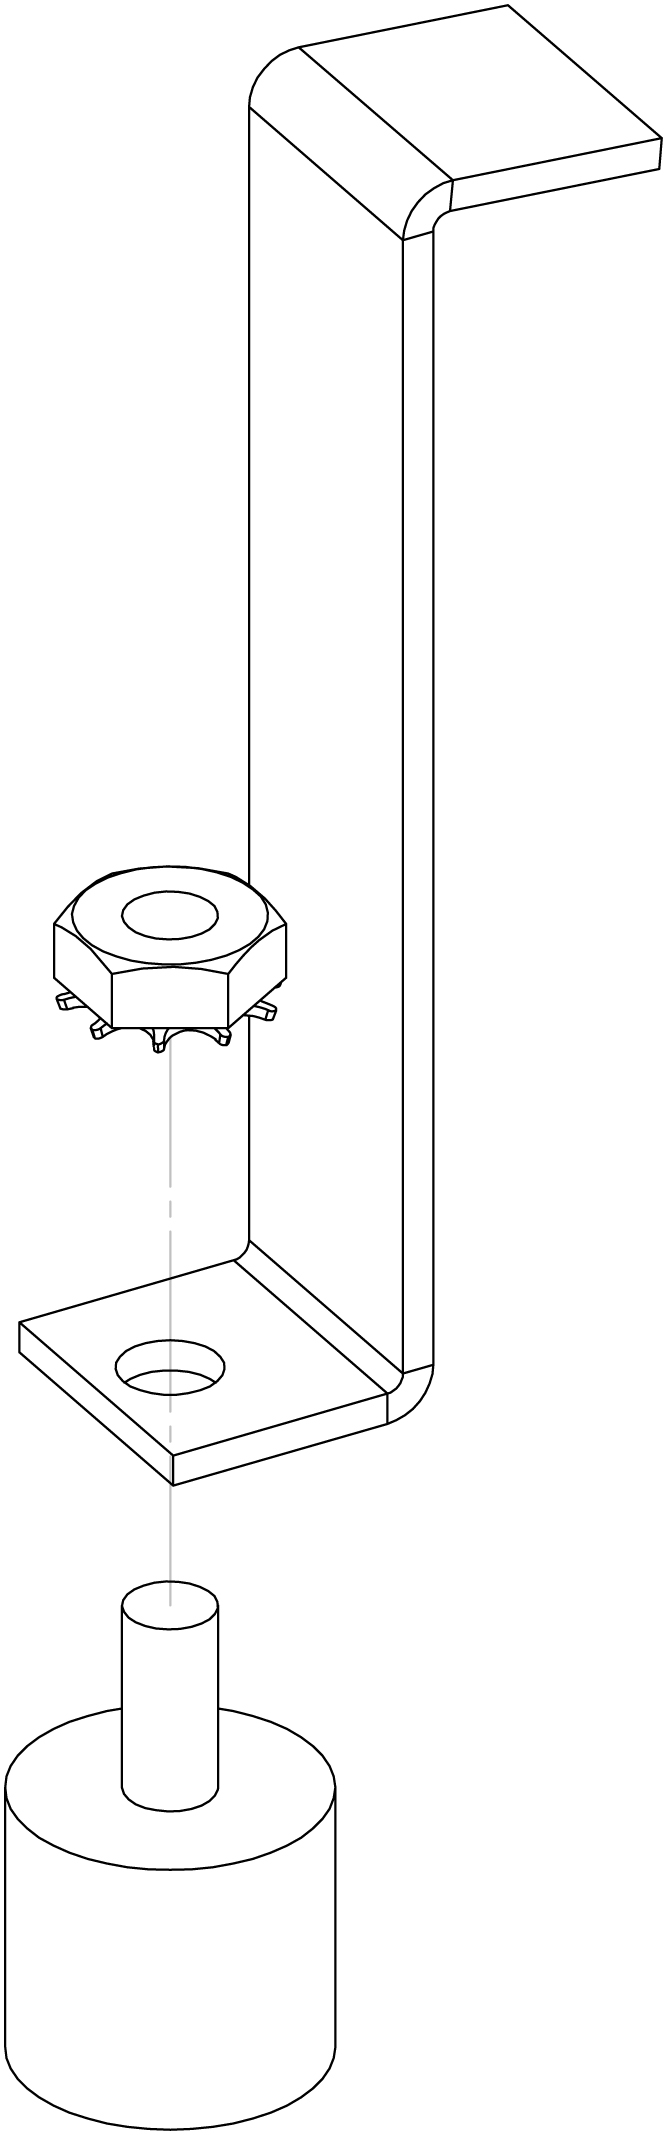
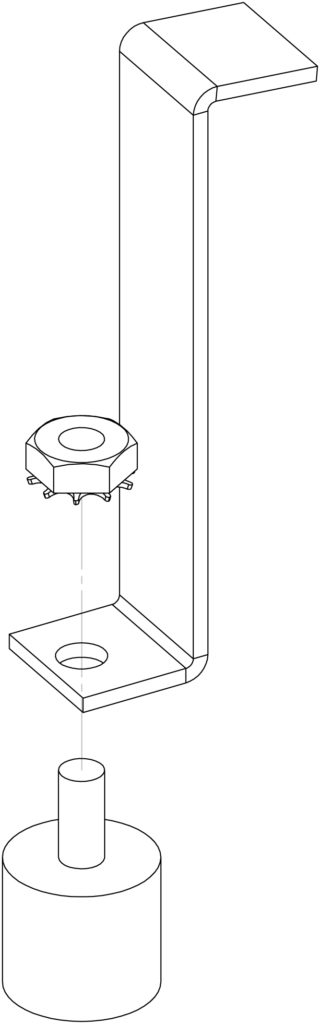
*Note replacement motor clips are sold separately as p/n: 97040.