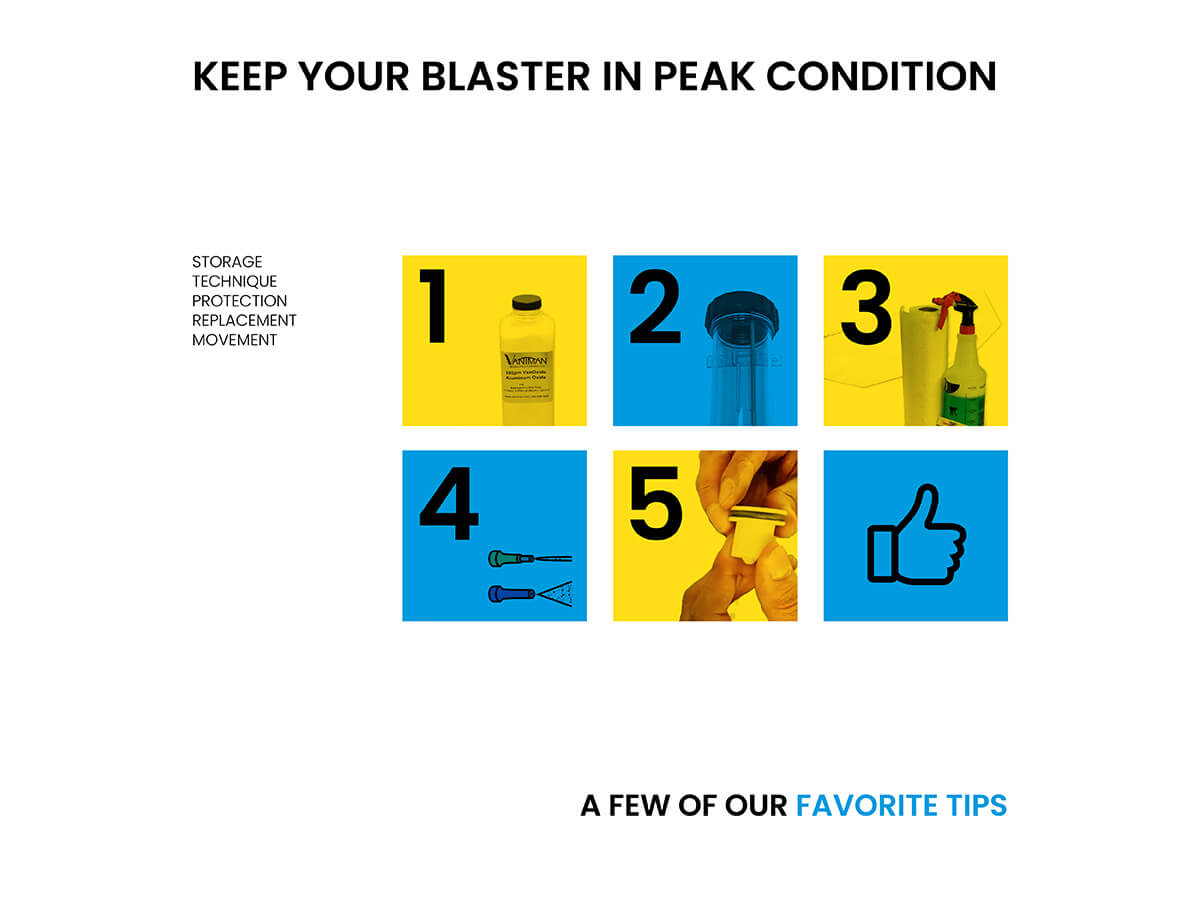
Vaniman’s sandblasters are used by tons of people and companies for tons of different applications with great success. But — as it’s well known — these machines can become a nuisance quickly if not properly maintained! Here are our top five maintenance tips for keeping your sandblaster (and your sanity) in good condition. Make sure to keep on top of these!
1. Keep your media dry
Clean, dry, compressed air is key. Contamination by water and or oil will cause clumping of the abrasive in the jar, preventing the abrasive from flowing freely to the blasting tip.
Make sure your compressed air isn’t contaminating your media by checking often. Also, be sure to store your abrasive media in a clean, dry container to keep out any moisture.

Need more blasting media? Shop here.
2. Refill your tanks the right way
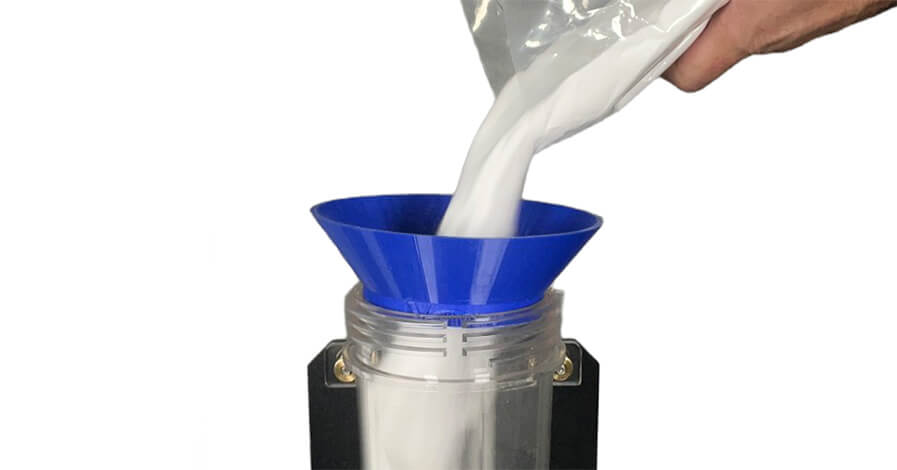
When refilling your media tanks, take caution to keep media out of the threads or O-rings. If you get buildup there, you could develop air leaks. (You can also make it very, very difficult to unscrew the lid again!) Set the lid a good distance away when refilling.
Additionally: use the tip of your finger to cover the manifold tube when pouring the media. Media should not go in there.
Pro tip: pick up a sand tank funnel for maximum convenience.
Shop O-Rings, Tanks, and other replacement parts here.
3. Use Static Cling Window Protectors
Media moves fast inside that blasting cabinet, and before long you may notice a foggy or blurry scratchiness on the glass window that makes it harder and harder to see inside.
You can avoid scratches on the glass by applying a Static Cling Window Protector – a thin plastic sheet that goes on the inside of the window, protecting it from the media blowing around in there. The Window Protectors are disposable, and are much cheaper than a whole new window!
VIDEO: Wet Application Method:
Shop Static Cling Window Protectors here:
4. Replace parts sooner rather than later (especially tips)
It’s better to replace parts as soon as you notice they are worn down instead of waiting until something goes catastrophically wrong. When one part wears out, you may damage other parts as well if you continue to blast without repairs.
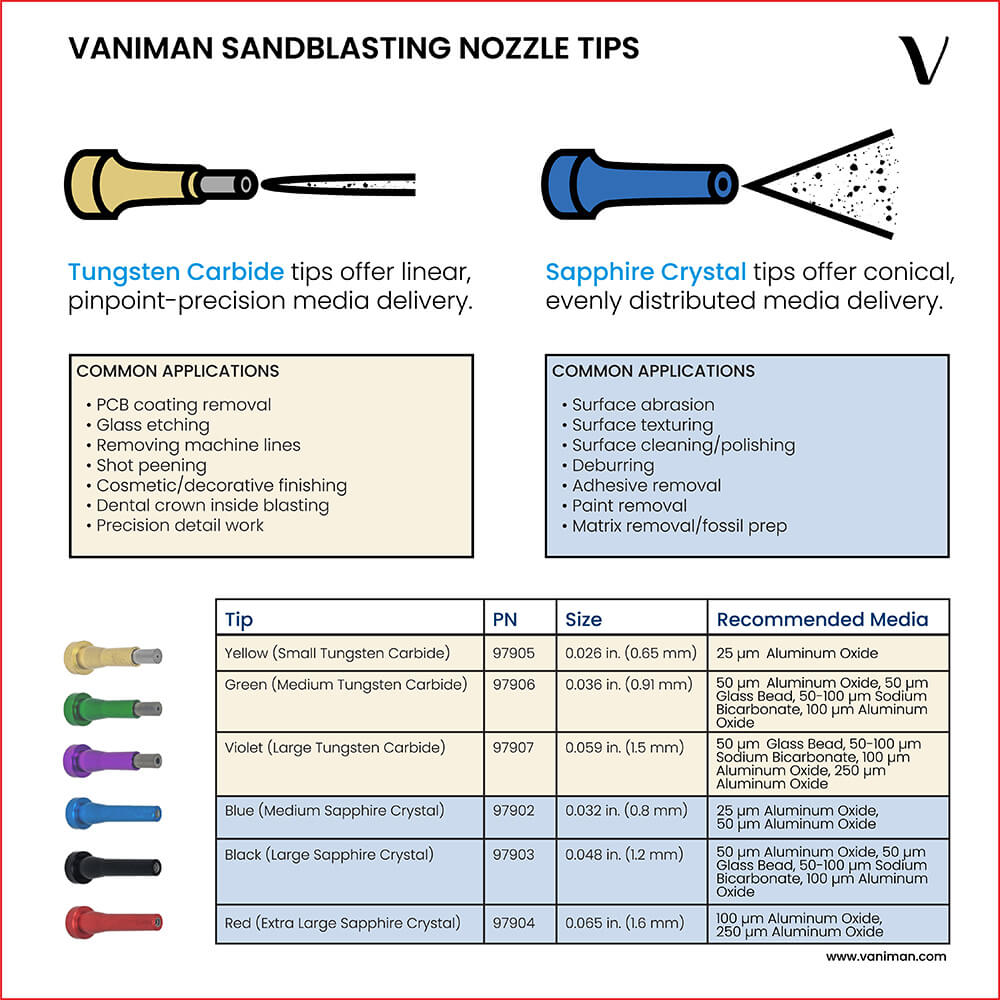
For the nozzle tips, as soon as you can visibly see the wear and tear, it’s a good idea to replace it quickly. This is the first and most significant point affecting the quality of the blasting. If you blast with a worn out tip, not only might you waste much more media than you should, you may find the blasting is no longer effective at all for your specific application.

Shop handpiece tips here:
Need to know which kind of tips are best for you? See our Sandblaster Nozzle Size Chart for Sandblasting Applications.
5. For Instant-Off models: move those tubes around in the pinch valve casing
Our Instant-Off sandblaster models use pinch valves on the back of your blaster. They pinch the urethane tubing connecting the handpieces, and over time, they can wear the tubing down (similar to chewing on a straw).
If you have one of these models, make sure you frequently move the tubing a bit in or out of the pinch valve casing to prevent holes from developing in the tubes. Again, this can lead to other damaged parts — including the pinch valve itself, which is far more difficult and time consuming to replace than the tubing.
…Lastly, to really make your blasters stay in good condition for a long, long time, pass this maintenance knowledge along to everyone who uses one at your workplace!